

Do you think you already know how to prepare a deck for stain? You don’t want to make assumptions here… Or that beautifully stained deck you have in your head could turn into a hot mess on your porch, requiring way more work to fix than it would have taken to complete proper deck stain prep.
Don’t neglect essential deck-staining prep. Before you even be considering on laying stain, your deck needs to be thoroughly cleaned – this includes NEW lumber. Improper prep is the top reason for unsatisfactory staining results. Remember, if the surface is not completely clean, your stain will have difficulty sticking, resulting in a peeling mess that not only looks bad, but can put your deck at-risk for rot.
Here’s How to Prepare a Deck for Stain
1. SHOP FOR CLEANER
- Sodium percarbonate or oxygenated bleach wood cleaners are a great option, effective at removing dirt, nail stains, algae and mildew, non-harmful to plants and vegetation, and won’t burn your skin. Consider picking up a wood brightener (and adding a step) to restore the appearance of older surfaces. They can dramatically influence results, and are easy to apply – no elbow grease required. (NOTE: If you need to remove stain – that is another tutorial entirely.)
2. SWEEP
- Thoroughly sweep your deck, removing as much dust, dirt, leaves, and debris as possible.
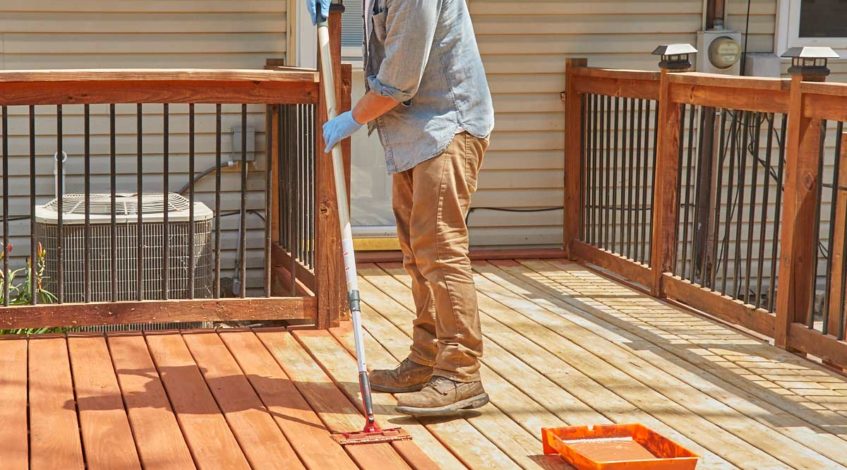
- Apply cleaner using a roller or sprayer.
- Read manufacturer’s instructions for mixing, noting whether the surface needs to be wet or dry for application. Liberally apply your chosen cleaner with a roller or pump sprayer, working in small section to ensure even coverage, and keeping the area wet at all times. Allow it to set for 15 minutes, gently misting with a garden hose as needed to keep the mixture wet. Wetness is essential for allowing the mixture to soak into the wood. Be sure to take your time on all steps, as it will affect the quality of staining results.
3. SCRUB AWAY CLEANER WITH THICK BRISTLE BRUSH
- After the cleaner has soaked for 15 minutes, start working the surface with a stiff-bristle brush (synthetic, NOT wire, which can create rust spots), scrubbing thoroughly to remove all dirt and residue. Don’t allow cleaner to puddle. (Enlisting another person to “back roll” or be on “puddle control duty” while you scrub will speed-up the process.)
4. RINSE CLEANER WITH A POWERFUL GARDEN HOSE OR POWER WASHER
- Garden hose: Using a hose attachment that offers powerful spraying force, completely rinse the cleaner from the wood.
- Power washer: Please proceed with caution as inexperienced users of power washers can actually damage a home’s siding or deck wood. If you choose not to use a professional power washing service, direct the power washer with a 45-degree tip and setting pressure at 1200 – 1400 psi, rinse the cleaner from the wood, spraying with the grain to avoid damaging the deck surface. Keep a distance of 8 – 12 inches for best results.
5. LIGHTLY SAND AREAS WHERE RESIDUE PERSISTS
Once the deck is completely dry, remove any remaining residue by sanding. Make certain your deck has dried at least two days before applying stain, checking weather to ensure ample drying time, as this is an essential part of how to prepare a deck for stain.
But if only the idea of deck stain prep wearing you out, you can simply contact your local San Diego Pro Handyman company or call us to learn more about our guaranteed workmanship and request service.
Contact us:
Phone: 619-456-0009
E-mail: [email protected]