

Has your leaky faucet been driving you crazy? Not only the noise of the slow, steady drip but maybe the fact that with every drop, your money is also going with it? Luckily for you, San Diego ProHandyman will ensure you can complete the job yourself. Follow these instructions and you will learn that most of the time, a water leak repair is easy enough for a handy homeowner.
Prep your Work Area:
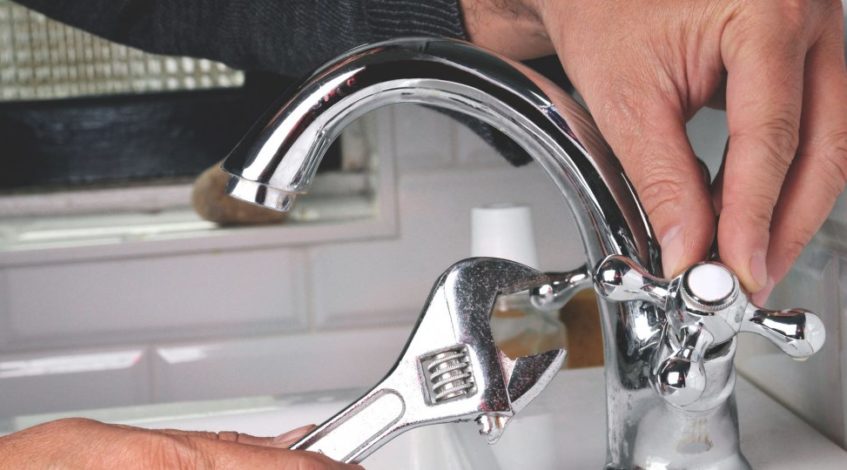
Before getting started with the repair, make sure you turn the water off underneath the faucet and then block the drain with a rag or plug so you don’t accidentally lose essential parts down the drain. Two tips for tidy keeping would be to duct tape your wrench around the jaws so you don’t scratch up your faucet and to lay out the parts you remove in order so you can easily remember the way to install them back.
Identifying the Correct Faucet:
To determine how to repair your faucet, identify the type yours is between these four:
- Ball – Swinging arm with a ball bearing for the faucet
- Cartridge – Also a swinging arm that will change the temperature depending on direction
- Ceramic Disk – Swiveling arm with a ceramic cylinder
- Compression – Hot and cold handles which you will turn separately left or right
Start the Repair:
Ball – A ball faucet can have multiple parts which can then be tough to find the source of the leak. We would suggest you just replace the entire cam assembly which can be purchased for about $20 at any hardware store. Once you have the kit, unscrew the handle and take off the cap and collar with pliers. Loose the faucet cam with the tool from your kit and then remove the washer and ball with it. You can then use a needle-nose plier to reach into the base of the faucet and remove the seals and springs. Cut off the old O-rings and roll on the new ones covered in plumber’s grease so you can then install back the springs, valve seats and cam washers to install the faucet back together.
Cartridge – You will first start with removing the decorative cap if present and then unscrewing the handle to remove it. If there is a circular threaded plastic piece holding the cartridge in place, you will need to remove this with pliers and then pull the cartridge up to remove the spout and find the O-rings. Cut these off with a utility knife and then coat the new rings in plumber’s grease to slip them on easier. Reassemble the faucet together again and you are done!
Ceramic Disk – To gain access to the escutcheon cap so it can be removed, you will first unscrew and remove the handle. Next you will unscrew the disk cylinder and lift it to find the neoprene seals. Pry them all off and soak them and the cylinders in white vinegar for several hours before cleaning them with a plastic scrubber. Next you will need to examine the seals and see if they can be reused or if you will need to purchase new ones. Once you have determined this, you can replace the seals and then reassemble the faucet. When turning the water back on, make sure you do it slowly so the force of the water doesn’t crack the ceramic disk.
Compression – When a compression faucet is leaking, the worn down rubber washer is usually the cause. To find out for sure, you will need to pry off the decorative cap at the top of the handle and then unscrew the handle screw to remove it. Take the nut off with a wrench to find the stem, the thin O-ring and the washer. Remove the screw from the washer and replace with a new one coated in nontoxic and heat proof plumbers grease before reassembling the faucet.
Need a Professional?
If you are feeling uncomfortable about repairing yourself or if you just don’t have the time, call San Diego ProHandyman. We can take a look at your drippy faucet and also any other minor repairs you may require at the same time.
Contact us:
Phone: 619-456-0009
E-mail: [email protected]